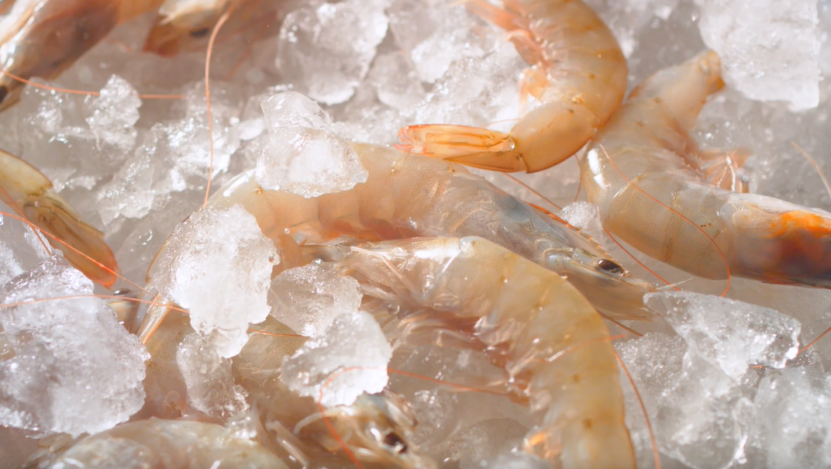
If you’re like me and adore the taste of shrimp, you probably keep a bag of frozen shrimp handy in your freezer. It’s perfect for those last-minute dinner plans or when you just crave something seafood.
But, the key to getting that delicious dish right starts with how you thaw those little guys.
Over the years, I’ve learned a few tricks to thaw them perfectly, ensuring they’re ready for whatever recipe I’m whipping up. Here are my top 3 methods for thawing.
1. Refrigerator Thawing
Step 1: Planning Ahead
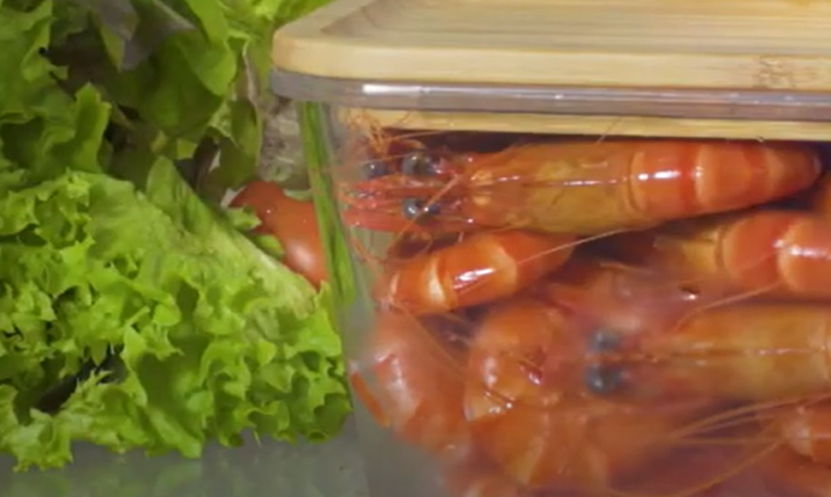
Refrigerator thawing is the safest method. It requires planning, as it takes about 12-24 hours, depending on the quantity. This method is ideal for those who are preparing meals ahead of time.
It’s essential to consider the size of the shrimp, as larger ones may require more time to thaw thoroughly. Also, ensure your refrigerator is set at a consistent temperature, ideally around 40°F (4°C), to facilitate even thawing.
Step 2: Packaging
Place the frozen shrimp in a leak-proof plastic bag or its original packaging. This prevents cross-contamination and keeps it from absorbing other flavors.
If using a plastic bag, squeeze out as much air as possible before sealing to minimize the risk of freezer burn. Double-bagging can provide extra protection against leaks.
If the shrimp is in a block, don’t attempt to break it apart, as this could damage them.
Step 3: Thawing in the Refrigerator
Place the bag in the refrigerator. The cold environment allows the shrimp to thaw gradually, maintaining its texture and flavor. To prevent any leakage onto other foods, place the bag on a plate or shallow pan.
Check the shrimp after 12 hours; if they aren’t fully thawed, they may need additional time. Once thawed, the shrimp should be firm, slightly moist, and have a fresh, sea-like aroma.
2. Cold Water Thawing
Step 1: Prepare the Shrimp
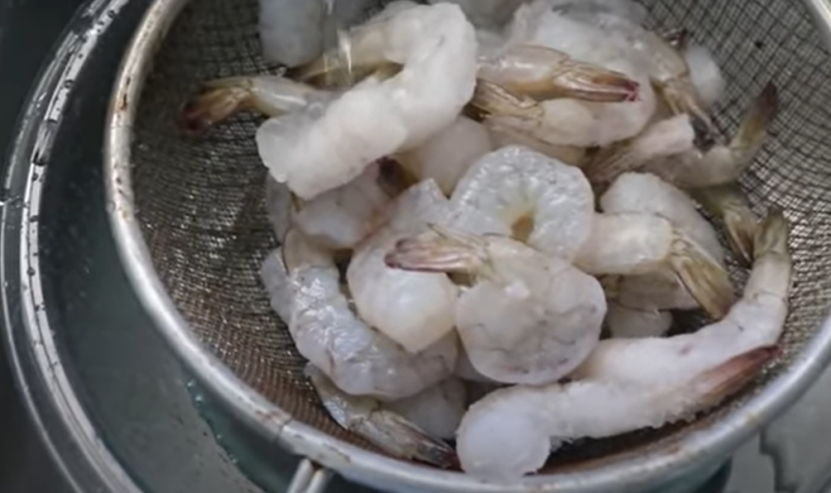
Place the frozen shrimp in a leak-proof bag if it isn’t already in one. Ensure the bag is sealed tightly to prevent water from entering, which could change the texture of the shrimp.
If you don’t have a leak-proof bag, you can also use a zip-top plastic bag, making sure to press out as much air as possible before sealing.
Step 2: Submerge in Cold Water
Fill a large bowl with cold water. Submerge the bagged shrimp, ensuring it’s fully covered. The bowl should be large enough to allow water to circulate around the bag for even thawing.
It’s important to use cold water, as warm or hot water can start cooking the shrimp, leading to uneven texture and potential bacterial growth.
Step 3: Change the Water
Change the water every 30 minutes to maintain a cold temperature. This method takes about 1-2 hours, depending on the size and quantity of the shrimp.
Regularly changing the water ensures that it remains cold, providing a safe environment for it to thaw.
Avoid leaving it in water for longer than necessary, as prolonged exposure can lead to waterlogging and texture degradation.
3. Quick Thawing (Microwave)
Step 1: Microwave-Safe Dish
Place the shrimp in a microwave-safe dish. Ensure the dish is large enough to spread the shrimp in a single layer for even thawing.
Avoid using metal or foil containers as they can cause sparks or damage the microwave.
Step 2: Use the Defrost Setting
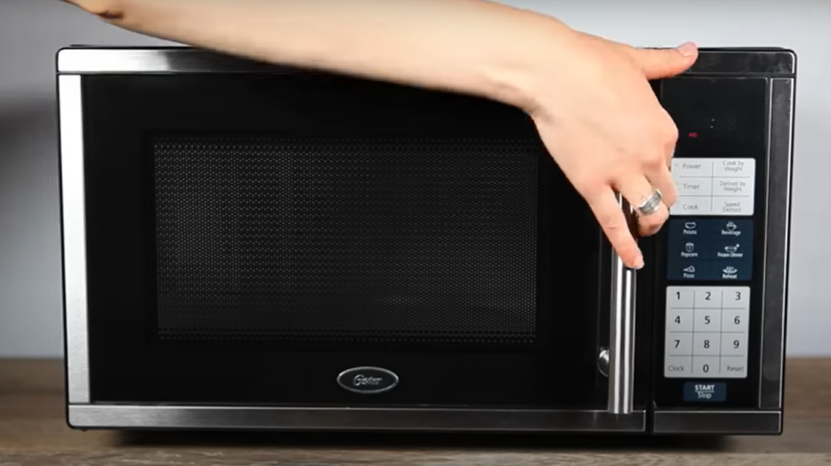
Use the defrost setting or set the microwave to 30% power. Microwave the shrimp in short intervals of 30 seconds to one minute, checking frequently to prevent cooking them.
Stir or rotate it between intervals for uniform thawing.
Step 3: Cook Immediately
Once thawed, cook the shrimp immediately to prevent bacterial growth. Do not leave the thawed shrimp at room temperature for more than 20 minutes.
Quick cooking methods like sautéing or grilling are ideal for microwave-thawed shrimp.
Tips for Best Results
- Avoid Room Temperature Thawing: Thawing shrimp at room temperature can lead to bacterial growth. It can also thaw it unevenly, affecting its texture and taste.
- Cook Thawed Shrimp Promptly: Cook the shrimp as soon as it’s thawed to maintain its quality and safety. Delay in cooking can result in a mushy texture or potential health risks.
- Refreezing: Avoid refreezing thawed shrimp to maintain quality. Repeated freezing and thawing can break down its texture, making it rubbery and less flavorful.
FAQs
Can I use warm water to speed up the thawing process of shrimp?
It’s not recommended to use warm water. Warm water can cause uneven thawing and create a breeding ground for bacteria. Stick to cold water or other safe thawing methods.
How can I tell if shrimp thawed in the microwave has started to cook?
Shrimp that starts to cook during microwaving will turn pink and opaque. If you notice this happening, stop the thawing process immediately to avoid overcooking.
Is there a difference in thawing wild-caught versus farm-raised shrimp?
The thawing process for wild-caught and farm-raised shrimp is generally the same. However, wild-caught shrimp may have a slightly firmer texture, so be cautious not to overthaw as it can become mushy.
Can I marinate shrimp while it’s thawing?
It’s not advisable to marinate it while it’s thawing, especially if using cold water or microwave methods. It’s better to thaw the shrimp completely before marinating to ensure even flavor absorption.
How long can I keep shrimp in the microwave defrost setting?
The time can vary depending on the microwave and the amount of shrimp. Start with 30-second intervals, checking it each time. Typically, it shouldn’t take more than a few minutes.
What’s the best way to spread shrimp for even thawing in the microwave?
Arrange the shrimp in a single, even layer in the dish. This allows the microwave to evenly distribute its energy, leading to more uniform thawing. Avoid stacking them as it leads to uneven thawing.
Summary
Thawing shrimp might not be the most glamorous part of cooking, but it’s definitely a game changer in how your dish turns out.
Whether you’re planning a fancy dinner or just tossing some shrimp into a quick stir-fry, taking the time to thaw them properly makes all the difference.
Trust me, once you get the hang of these easy methods, you’ll be on your way to enjoying succulent, flavorful meal every time you cook!
